
Deal with the mould first
The shaded side of a Brisbane fence almost always has mould on it, even when it is not obviously green. Painting over mould gives the coating nothing to grip, and the mould keeps growing underneath.
Treat it, wash it down, and rinse properly. Then let it dry — a fence that was washed yesterday is not ready today.
Remove everything that is letting go
If the fence has been painted before, work over it and take off anything loose or flaking. This is tedious and it is the part that decides how long the job lasts.
Feather the edges where sound paint meets bare timber, or you will see every one of those edges through the finished coat.
Choose paint or stain deliberately
Stain penetrates and fades gradually. When it is due again you clean and re-coat. It will not hide mismatched palings or previous repairs.
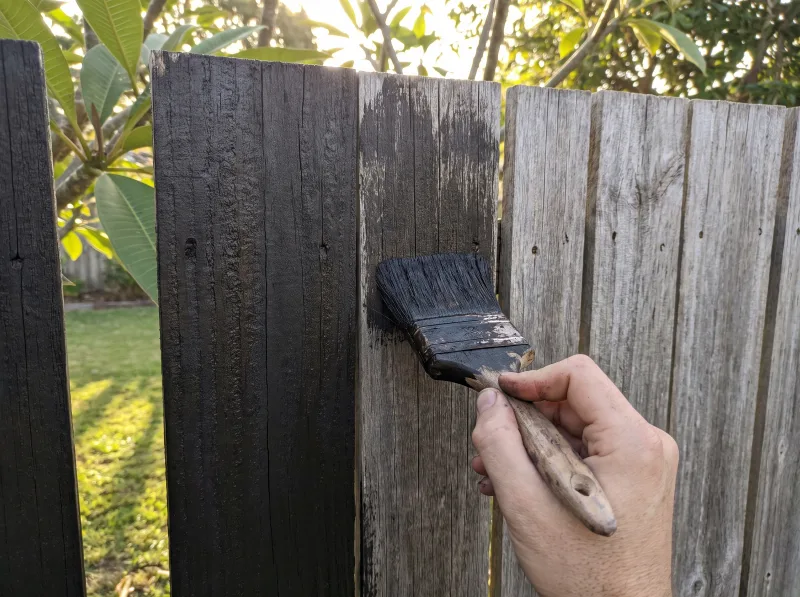
Paint gives full colour coverage and hides a multitude of sins, but when it eventually fails it peels rather than fades, and preparing a peeling painted fence is a much bigger job than re-coating a stained one.
If the fence is already painted, going back to stain is rarely practical — you would need to strip it completely.
Prime bare timber
Any bare timber exposed during preparation needs priming before the topcoat, particularly on the end grain of posts and rails where water gets in first.
End grain drinks coating. It is worth an extra pass there on every post top and cut end.
Two coats, and mind the conditions
Exterior-grade product, two coats, with the recoat time respected. Not in full afternoon sun on a west-facing fence, and not with rain forecast that evening.
Fence painting rewards patience more than skill. The people who get five good years out of a fence are the ones who spent the first day preparing it.